Sephiria Artifacts, Combos and Slabs
Plan Sephiria artifact choices around stars, combo tags, slab placement, inventory constraints, and weapon enhancement synergy.
Why this matters
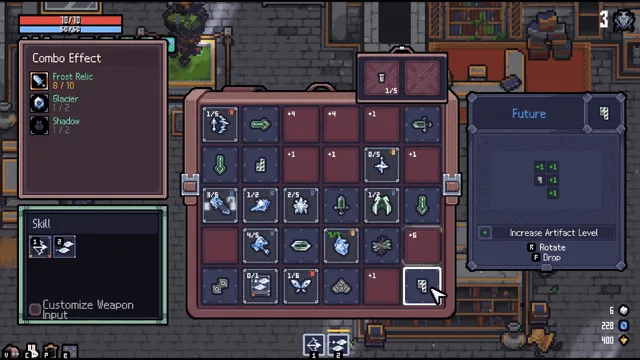
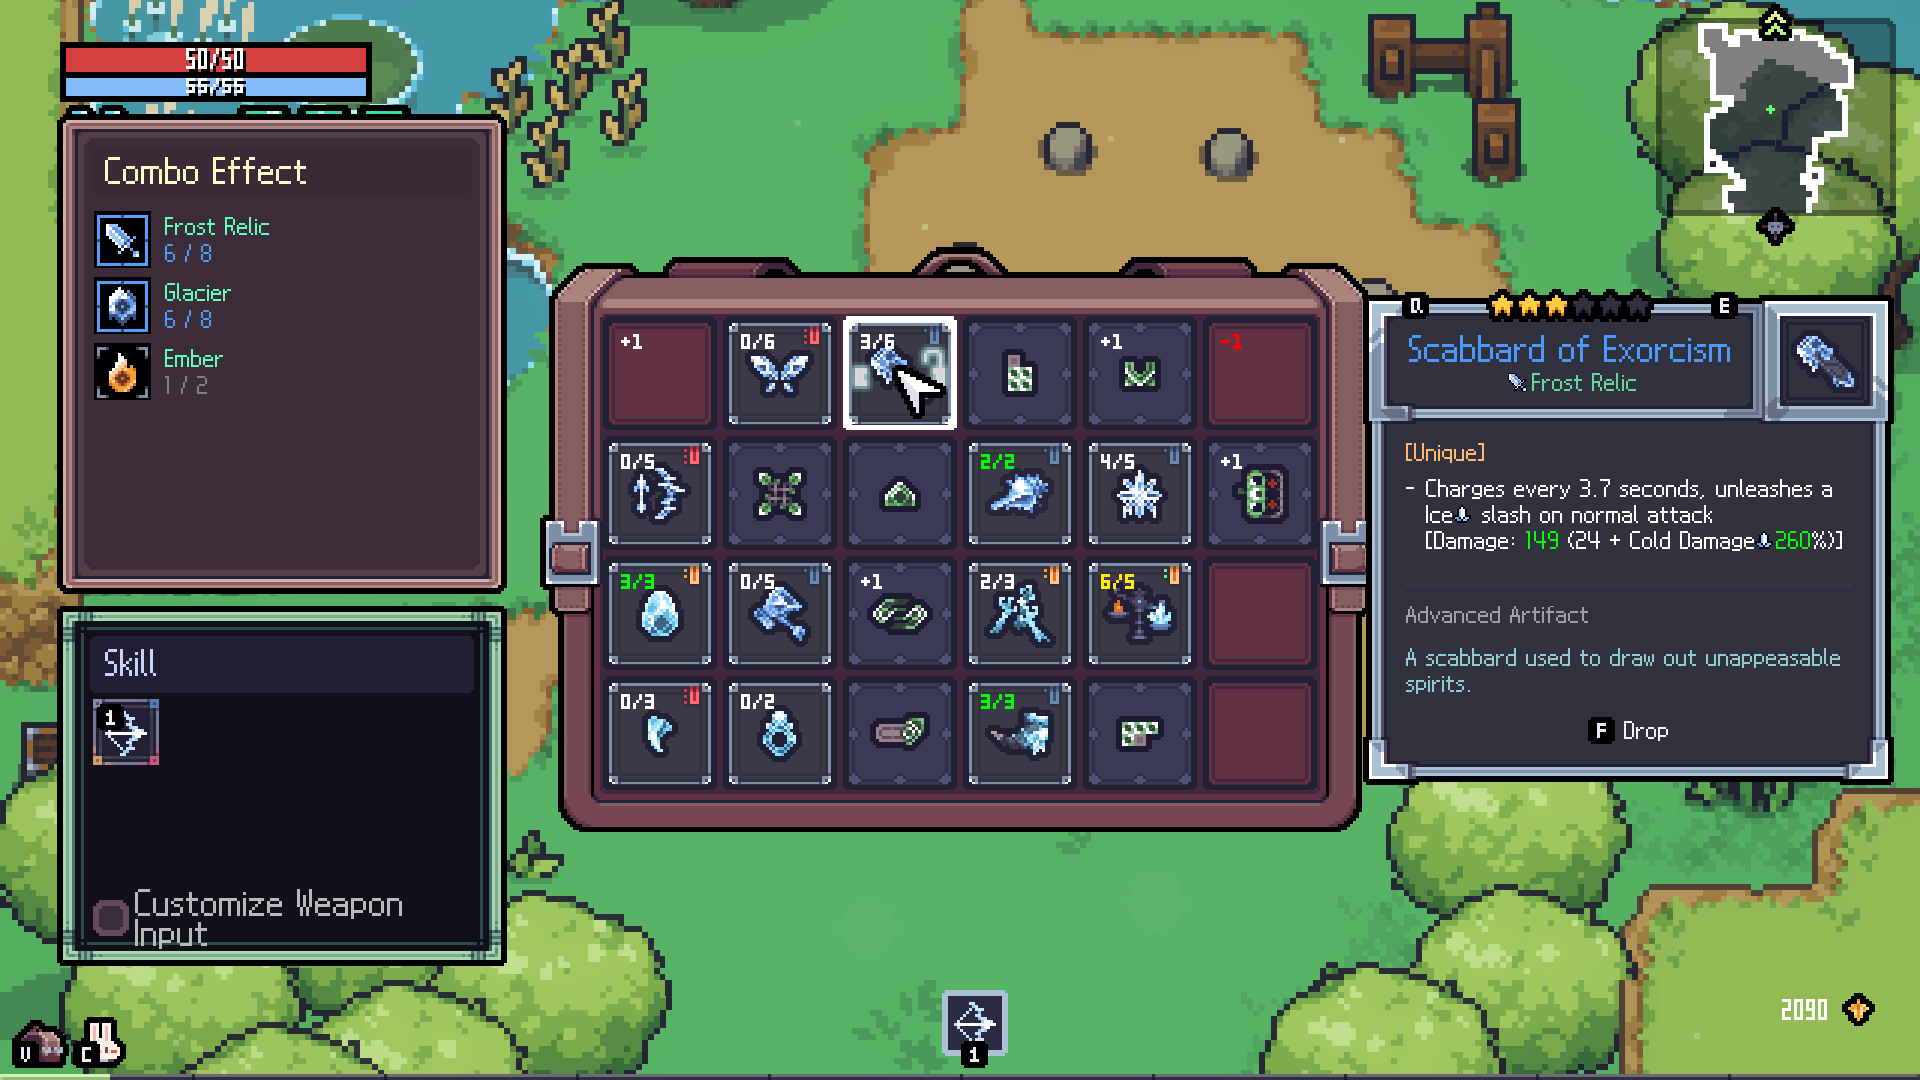
Artifacts are the most attractive system to explain first because they turn Sephiria from a simple action roguelite into a build puzzle. Each artifact has a star limit and one or more combo tags. Slabs can raise or lower artifact levels by placement, and artifacts can stop working if their level is reduced to -1 or lower.
That means the inventory is not storage. It is part of the build.
Artifact basics
| Term | What it means | Why players care |
|---|---|---|
| Star limit | The artifact's maximum level. | A high-potential artifact still needs levels to matter. |
| Current level | Starts at 0 and can be raised or lowered by effects and slabs. | If it drops to -1 or lower, the artifact is disabled. |
| Combo tag | A category such as Glacier, Lake, Guardian, Academy, Dark Clouds, Embers, or Sun Sword. | Multiple artifacts with the same tag can unlock combo effects. |
| Constraint | Some artifacts only work when placement or condition requirements are met. | A strong item can be dead weight if the inventory cannot support it. |
| Weapon coefficient | Some chance-based artifact effects vary by weapon. | Fast weapons and slow weapons do not always trigger items equally. |
Slab planning
Slabs change nearby artifact levels and constraints according to their marked spaces. The important trick is that level penalties are positional: if a slab's level-down area does not touch an artifact, or touches another slab instead, the penalty can be avoided.
| Slab decision | Good use | Bad use |
|---|---|---|
| Level increase | Place it where it raises artifacts central to your build. | Spend it on unrelated items just because space is available. |
| Level decrease | Push the penalty to an edge, empty space, or another slab. | Let it disable a key artifact by dropping it below level 0. |
| Constraint ignore | Use it to activate a powerful artifact you otherwise cannot place cleanly. | Use it before knowing which artifact needs the help. |
| Rotation or placement constraints | Treat them as part of the puzzle before picking the reward. | Pick a slab that cannot fit without breaking the build. |
Inventory grid rules
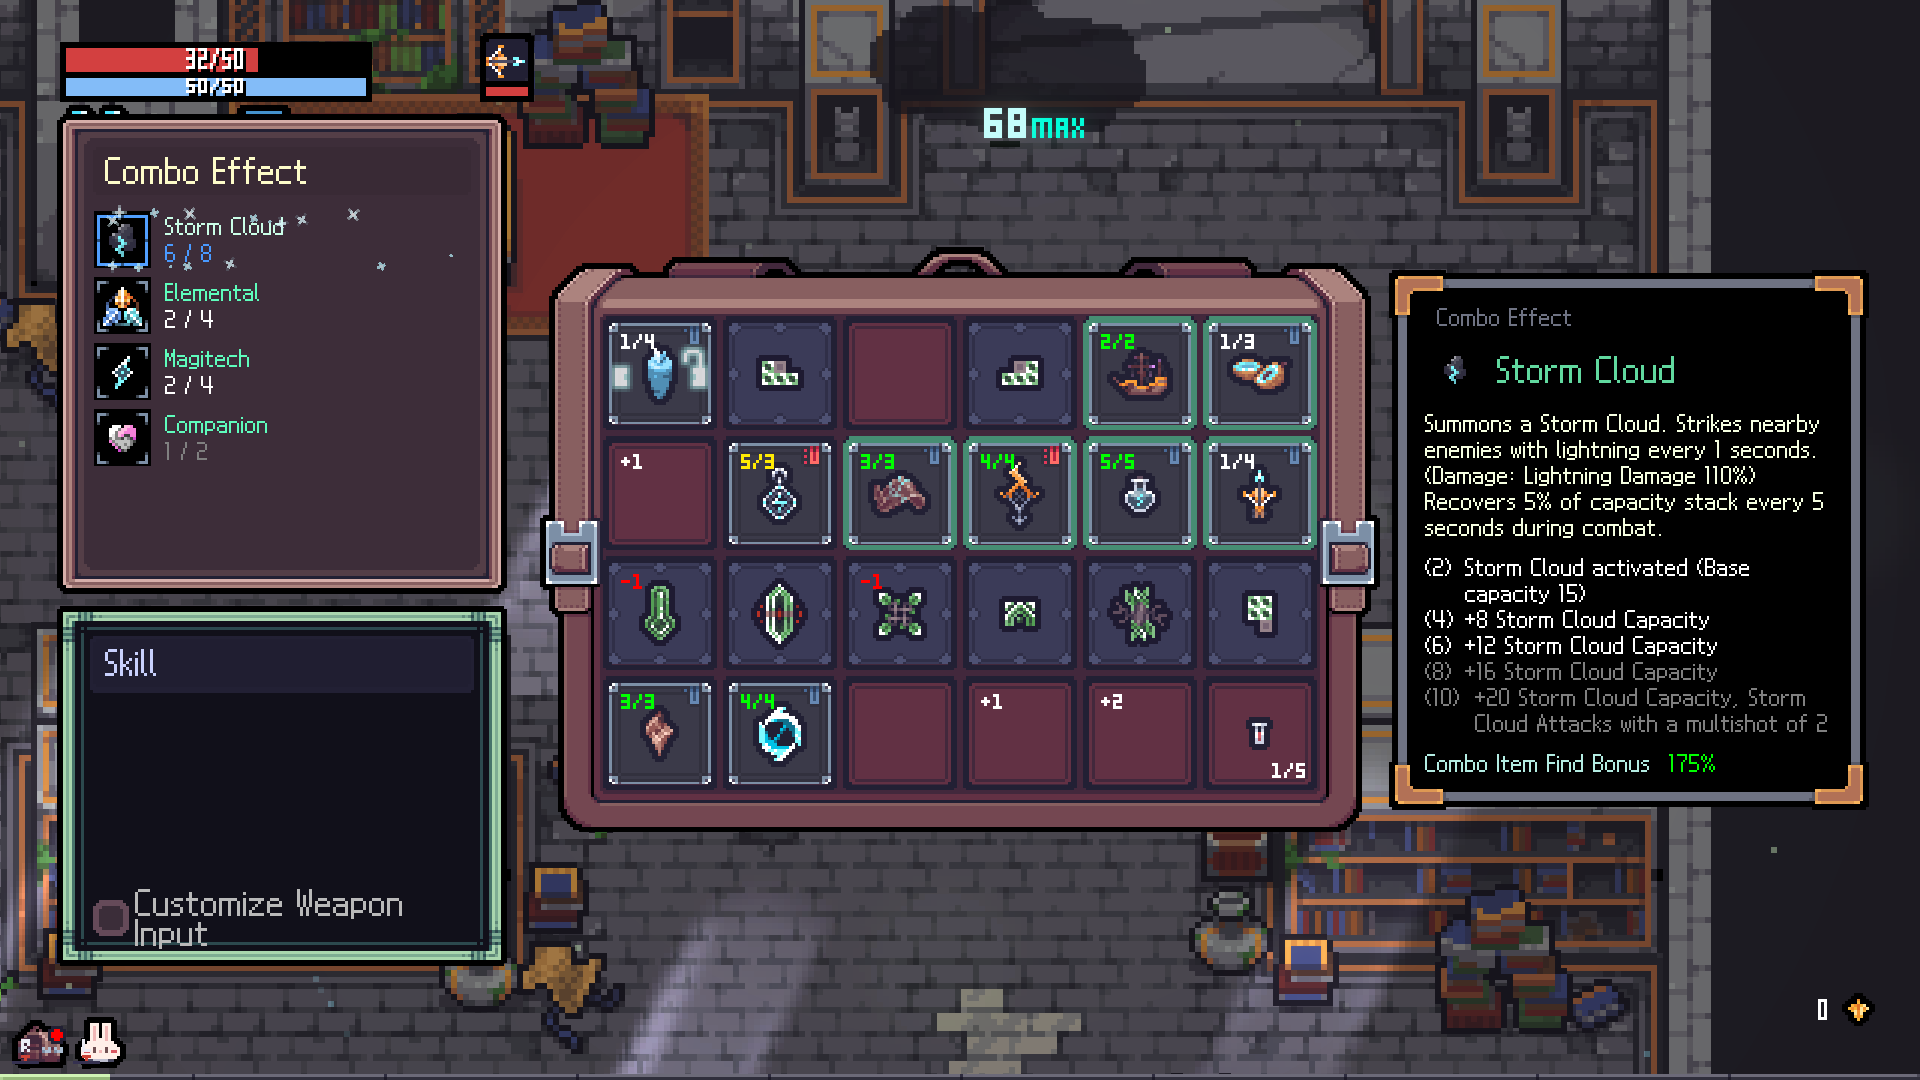
The backpack is a damage system. A strong artifact can lose value if its shape blocks a better Tablet pattern, and a modest artifact can become important when it completes a combo family or holds a boosted cell.
| Grid idea | Practical use |
|---|---|
| Artifact footprint | Judge the shape before the rarity. A piece that cannot fit cleanly may cost more than it adds. |
| Tablet adjacency | Put level-up spaces on the artifacts that define the route. Move penalties toward empty cells, harmless pieces, or another slab. |
| Q / E preview | Rotate before committing so the final layout supports the combo family instead of just filling space. |
| Dead cells | Leave awkward cells unused when filling them would disable a stronger artifact or break a Tablet pattern. |
| Side Bag | Keep situational pieces for boss swaps or route changes instead of forcing everything into the main grid. |
Combo families to prioritize
Start with combo families before memorizing every single artifact. Families tell you what kind of build the run is becoming and which weapon routes are worth supporting.
| Combo family | Build identity | Pair with |
|---|---|---|
 Guardian / Firmness Guardian / Firmness | Defense, guard value, safer clears, defense-scaling damage. | Sword and Shield, Bone Greatsword, Staff counter routes, defense katana. |
 Shadow Shadow | Evasion, mobility, Fury access, safer repositioning. | Dagger Fury routes, evasion katana paths, dash-heavy play. |
 Glacier / Ice Weapon Glacier / Ice Weapon | Frostbite, freezing, ice weapon triggers, slower but controlled fights. | Ice sword, ice greatsword, Frost Shroud crossbow, winter katana, ice staff. |
 Lake Lake | Maximum MP, MP spending, spell and special-attack scaling. | Magic dagger, spellbook builds, special-attack crossbow, MP-heavy katana. |
 Wind Song Wind Song | Dash attacks, movement, range and attack rhythm. | Rapier, dash dagger, spirit dash katana, assault spear staff. |
 Embers / Sun Sword Embers / Sun Sword | Burn stacking, fire conversion, Sun Sword burst or auto-throw loops. | Incendium shield, fire greatsword, fire dagger, Helbanus katana, fire staff. |
 Dark Clouds / Lightning Dark Clouds / Lightning | Dark Cloud consumption, electric shock, lightning projectiles. | Conductor shield, lightning greatsword, lightning dagger, lightning crossbow, thunder staff. |
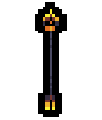 Academy Academy | Spellbook casting, magic crit, repeated or accelerated magic. | Magic Wand, Academy Magic Sword, magic katana, Ilonika staff. |
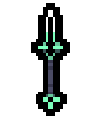 Companion Companion | Summons, allies, companion damage and attack speed. | Protection shield stall, Lazarion greatsword, Darkness dagger, Karim crossbow. |
 Curse / Debuff Curse / Debuff | Poison, wound, burn, shock, frostbite and debuff amplification. | Crimson Thorn, Kagumede, Fire-eating Haitai, shock and poison routes. |
First-pick rule
Do not pick artifacts by rarity alone. Pick them by whether they answer one of these questions:
- Does this artifact support my current weapon enhancement?
- Does it push me toward a clear combo family?
- Can my slab layout raise it without disabling something else?
- Does it solve this run's real problem: survival, room clear, boss damage, or MP economy?
When to stop adding tags
Combo tags are powerful, but a run still needs one main job. If you already have a clear weapon plan, prioritize pieces that raise that plan over unrelated tags that only make the inventory look busier.
| If the run already has | Add | Avoid |
|---|---|---|
| Reliable weapon damage | Precision, Firmness, matching element, or slab levels. | A second element with no trigger support. |
| MP pressure | Lake, Academy, MP recovery, or cheaper special usage. | More MP spenders before the economy works. |
| Guard or defense scaling | Guardian, Firmness, sustain, or counter support. | Pure damage that forces unsafe positioning. |
| Freeze or burn direction | More Glacier / Embers support and matching weapon triggers. | Splitting into lightning or companion tags too early. |
| Companion damage | Companion scaling, respawn speed, and defensive room to wait. | Replacing the safe plan with fragile melee pieces. |
When to use a full artifact list
A full artifact list is useful after you already know the build direction. Use it when you need to check whether a reward supports your weapon, shares a combo family, survives the current slab layout, or solves the run's immediate problem.
For early runs, prioritize the family first:
- Pick the weapon enhancement.
- Identify the strongest matching combo tag.
- Keep artifacts that support the same route.
- Use slabs to raise the items that define the build.